
Laundry Rack Installation Singapore: What Buyers Need to Know
Buying an automated rack is only half the decision. The other half is making sure it can be installed safely, cleanly and in the right position. laundry rack installation Singapore buyers should plan before renovation work is finished, especially when the service yard has a false ceiling, cabinets, lights, pipes or a tall washing machine.
A good installation starts with measurements. The installer needs enough ceiling area for the rack body, enough drop space for the poles and enough clearance around doors, windows and appliances. The goal is not simply to attach the rack to the ceiling. The goal is to make the rack easy to use every day without blocking access to the washer or reducing usable service yard space.
What Should Be Checked Before Laundry Rack Installation in Singapore?
Start with the exact installation area. Measure the available ceiling length and width. Note where the washing machine door opens. Check whether windows swing inward. Look for ceiling lights, pipes, beams, cabinets and electrical points. If renovation drawings are available, keep them ready for the installer or site survey team.
Check the available ceiling length and width before choosing the rack.
Make sure the rack will not interfere with the washing machine or dryer.
Check opening paths so lowered poles do not obstruct access.
Identify suitable electrical access before renovation work is completed.
GoodLiving offers a free site measurement service through its Services page. The company states that installation is available for both concrete and false ceilings. A site assessment is still important because every home has a different ceiling structure, service yard width and appliance layout.
False Ceiling Laundry Rack: What Buyers Need to Know
A false ceiling laundry rack needs proper structural planning. The visible ceiling board is not the same as the structural slab above it. The installation team needs to assess where the system can be supported and how the final mounting will sit with the false ceiling design. The rack should not be treated like a lightweight decorative fitting.
If your renovation includes a new false ceiling, tell the interior designer early that an automated rack will be installed. This allows the ceiling plan, electrical point and rack position to be coordinated before finishing work. It also reduces the chance of moving lights or opening finished ceiling sections later.
GoodLiving currently states on its product and FAQ pages that installation for concrete and false ceilings is included. Exact site conditions can still affect the method. A measurement is the safest way to confirm the fit before you finalise carpentry or ceiling work.
Laundry Rack Installation HDB Planning
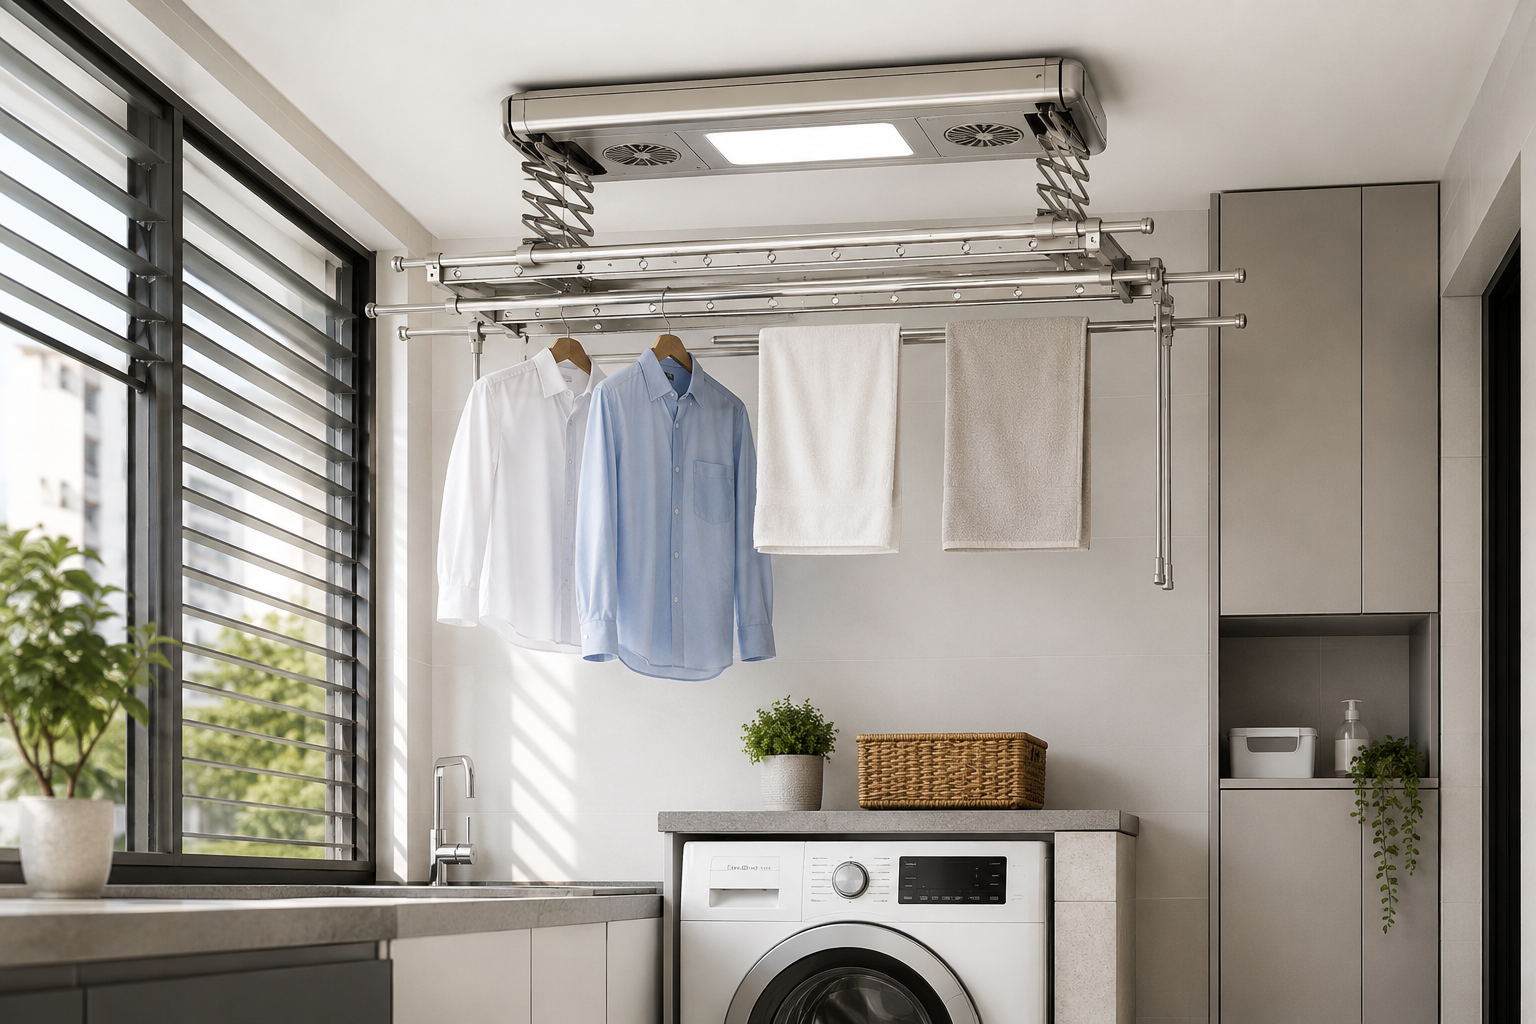
For laundry rack installation HDB homeowners usually work with a compact service yard. That makes placement more important than in a large utility room. The rack should be high enough when retracted to keep the space open, but it also needs a practical lowered position for hanging clothes. Pole extension must not hit walls, windows, cabinets or a stacked washer and dryer.
Compact models can make this easier. The Platinum Mini 2.0 is designed for smaller spaces and has poles that extend from 100cm to 180cm. Its published body size is 100cm by 40cm, with a 130cm drop. Those dimensions make it relevant for tighter HDB service yards where a wider full-size system may be difficult to place.
Where Should the Electrical Supply Be?
An automated rack needs a suitable electrical connection. GoodLiving's product specifications list options such as a light point, suitable wiring or a wall socket with a plug, depending on the installation. The installer should confirm the most appropriate method for your home. Do not assume that the nearest ceiling light can automatically be reused without checking the wiring and layout.
Coordinate the electrical point before painting and ceiling finishing to keep visible cabling to a minimum.
A site survey can identify the most practical electrical route with the least disruption.
How Much Clearance Do You Need?
Clearance depends on the model. Check the rack body size, pole width, maximum pole extension and drop distance. Also check the space needed below the rack when clothes are hanging. A rack may fit on the ceiling but still feel inconvenient if the lowered laundry blocks the washing machine door or the only walking path through the service yard.
Low or visually tight ceilings may suit a slimmer model. The Luxe Pro is listed with a 12cm thickness clearance and 140cm to 220cm extendable poles. It is designed for homes where a slimmer ceiling profile is a priority. The exact choice should still be based on measurements.
Installation Timing During Renovation
The easiest time to plan a rack is before the renovation sequence is locked. First confirm the washing machine and any dryer dimensions. Next decide where cabinets, windows and lighting will sit. Then reserve the ceiling zone and electrical point for the laundry rack. The final rack can be installed once the relevant ceiling and electrical work are ready.
If you buy the rack before the home is ready, GoodLiving's current product information says orders can be placed in advance and stock can be held for up to 12 months. This can help BTO owners secure a model while keeping the actual installation aligned with the renovation schedule.
What Is Usually Included?
GoodLiving's current FAQ states that its racks include free installation for concrete and false ceilings. It also mentions free dismantling and disposal of the old rack, bolt patching and wiring work under normal circumstances. Buyers should confirm the current scope at the time of order because site conditions and offers can change.
Installation is stated to be available for both concrete and false ceilings.
Free dismantling and disposal of an existing rack may be included under the stated service scope.
Common Installation Mistakes to Avoid
The first mistake is choosing a model before measuring the ceiling. The second is placing the rack where extended poles interfere with a window or cabinet. The third is leaving the electrical point until the end of renovation. Another common issue is forgetting the height of a stacked appliance setup. A rack that looks fine on a floor plan may have too little working clearance once a washer, dryer or overhead cabinet is installed.
Book a Site Measurement Before You Finalise the Ceiling
Good laundry rack installation Singapore is mostly about preparation. Confirm the ceiling type, electrical point, washer position, rack dimensions and movement clearance before the renovation is complete. This gives the installer a clear working area and gives you a service yard that remains practical after the rack is fitted.
GoodLiving is preparing a dedicated laundry rack installation Singapore guide for deeper installation information. Until then, review the Services page, compare the live product range and submit the site survey form to confirm your home setup.
Frequently Asked Questions
Can an automated laundry rack be installed on a false ceiling ?
Yes, GoodLiving states that its racks can be installed on both concrete and false ceilings. The installer still needs to assess the actual ceiling structure and mounting position before work begins.
Is laundry rack installation suitable for HDB flats ?
Yes. The main planning factors are ceiling space, pole extension, appliance clearance, electrical supply and the service yard layout. Compact models such as the Platinum Mini 2.0 are designed with smaller spaces in mind.
Should I install the rack before or after renovation ?
Plan it during renovation, then schedule final installation when the ceiling and electrical work are ready. Early planning prevents conflicts with lighting, cabinets and wiring.
How do I confirm which model will fit ?
Use the GoodLiving site survey form to arrange an on-site measurement. The team can assess the ceiling, available space and preferred placement before you commit to a model.